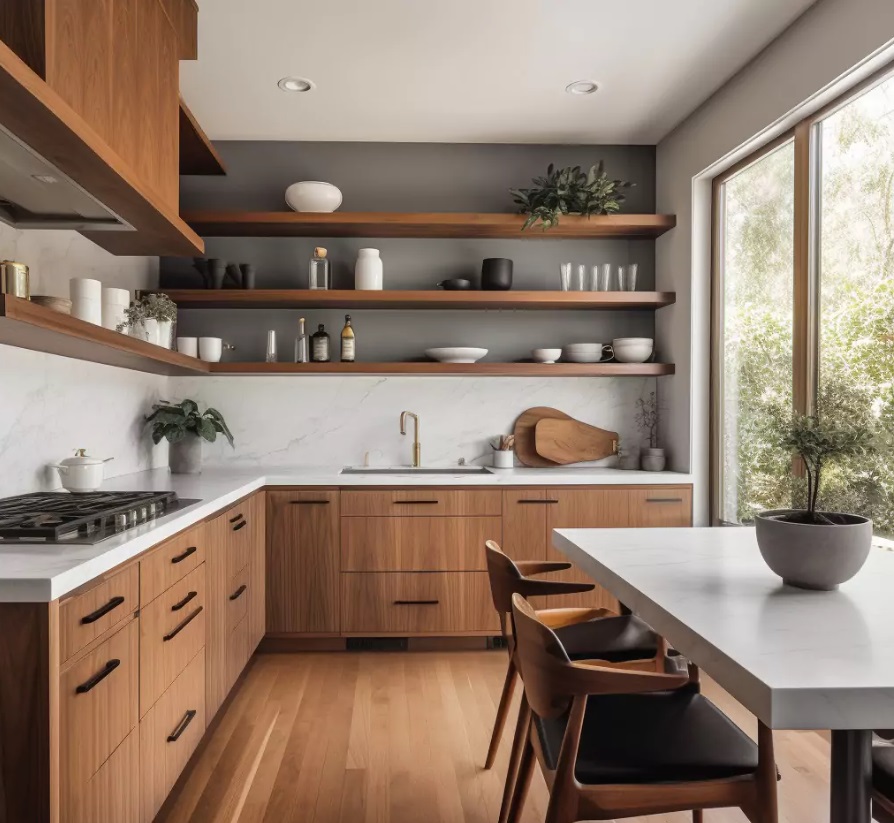
Installing vinyl plank flooring in Ham Lake, MN, can be a pleasing figure that enhances your home s aesthetic and functionality. Before you take up, it s necessary to train your quad decently and gather the right tools. You ll want to make certain your subfloor is strip and horse barn. Once everything s set, acclimating your planks is key to a triple-crown installment. Let s explore the stairs to reach a durable and visually sympathetic blow out of the water that meets your needs Stair System.
Key Takeaways
- Prepare your space by removing old floor and ensuring a clean, damage-free subfloor for optimum instalmen.
- Gather essential tools like a service program stab, measuring tape, spacers, and high-quality vinyl planks that fit your style.
- Acclimate vinyl group planks for 48-72 hours at room temperature and humidness levels of 30-50 to prevent time to come expansion or contraction.
- Install rug pad the right way, choosing the right type for moisture control, and ascertain it covers the stallion area without gaps.
- Lay planks starting from a , using spacers, impressive seams, and trimming around obstacles for a unlined end up.
Preparing Your Space for Installation
Before you immerse into installing vinyl group plank over flooring, it s necessary to prepare your quad decently. Start by removing old flooring, whether it s carpet, tile, or lino. This step guarantees a smooth over, rase rise for your new flooring.
Once the old material is gone, clear the area of any junk or dust. You might need to sweep, vacuum, or even mop to attain a clean workspace. Additionally, for any to the subfloor and turn to it before moving on.
Proper training not only makes installing easier but also enhances the longevity and visual aspect of your new vinyl group plank floor.
Gathering the Necessary Tools and Materials
With your quad improved and prepped, the next step is gather the necessary tools and materials for a successful vinyl plank over floor installation.
Start with tool natural selection, ensuring you have a service program stab, measurement tape, spacers, and a tapping stuff. A straightedge and a rubberize mallet will also be essential.
For stuff sourcing, choose high-quality vinyl group planks that fit your style and budget. Don t leave underlayment, which helps with vocalize soaking up and moisture verify.
Having everything on hand will streamline the installment process, qualification it more competent and enjoyable. Plan in the lead to keep off interruptions during your imag.
Acclimating Vinyl Plank Flooring
To guarantee your vinyl plank flooring performs at its best, acclimating the planks to the room s temperature and humidity is requirement. This process helps with temperature registration and wet verify, ensuring your floor won t expand or undertake post-installation.
Place the planks in the room for 48-72 hours before installation. Here s a simpleton table to cross the acclimatisation process:
Day Temperature( F) Humidity()
–
1 65-85 30-50
2 65-85 30-50
3 65-85 30-50
Following these steps will lead to a roaring instalmen.
Installing the Underlayment
Once you ve acclimated your vinyl group planks, it s time to install the rug pad, which plays an requirement role in creating a smoothen, even rise up for your flooring.
Choose from various underlayment types, such as foam, cork, or felt, depending on your needs. If moisture is a refer, opt for an rug pad with a shapely-in moisture roadblock to protect your flooring from potency water damage.
Lay the underlay plumb line to the way you ll instal the planks, ensuring it covers the entire area without any gaps. Trim surplus stuff as necessary, and you re set up to move on to egg laying down the vinyl plank over flooring.
Laying Down the Vinyl Plank Flooring
Start by selecting your first vinyl radical plank and lay it down in the corner of the room, ensuring it aligns with the carpet pad.
As you continue egg laying planks, wield proper plank alignment by using spacers along the walls. If you encounter obstacles, use cutting techniques like a utility knife or a jigsaw to trim planks to fit.
Make sure to careen the seams for a more natural look, ensuring no two ends meet in a straightaway line.
Repeat this work on, checking for alignment and tight fits as you move through the room, ensuring a unseamed and professional wind up.
Finishing Touches and Maintenance Tips
After you ve laid down your vinyl planks, adding the finish touches can raise both the aesthetics and strength of your flooring.
Start by installation baseboards to give a polished look and fill any gaps.
For sustentation, establish regular cleaning routines swing or hoover oft and use a damp mop with a assuage . This prevents dirt buildup and keeps your planks looking new.
If you run into scratches or dents, turn to damage resort promptly with vinyl group stun repair kits or by replacement the contrived planks.
With these stairs, your vinyl radical floor will remain pleasant and functional for eld to come.
Conclusion
Once you ve completed the installment of your vinyl group plank over floor, take a moment to admire your hard work Regular sustainment, like wide and infrequent mopping, will keep your floors looking important. Remember to the manufacturer s guidelines for particular care instructions. Enjoy your new, olde worlde floor that not only enhances your space but also offers durability and ease of sustenance. With the right preparation and care, your floors will last for years to come